5 Smart Steps to Prep for a Trip to a Country With Travel Advisories
Most people make one of two mistakes when they see a travel advisory pop up for their dream destination. They either close the tab in a cold sweat, or they shrug and say, "It's probably fine." Neither is a smart way to prepare for a trip to a country with travel advisories. The real pro move is to click through and actually read the thing. I’ve learned this the hard way, staring at a “Level 3: Reconsider Travel” warning for a solo trip I’d been planning for six months. My first instinct was panic. My second was to dig in. What I found wasn’t a blanket ban on the whole country — it was a surgical warning about a border region 200 miles from where I’d be sipping coffee in a quiet colonial town.
To understand what travel advisory means for your trip, you have to treat it like a weather report, not a verdict. Government sites like the U.S. State Department, UK FCDO, or Australia’s Smartraveller break their advisories into granular detail. They use a simple travel advisory levels explained system: Level 1 is normal caution, Level 2 means exercise increased caution, Level 3 says reconsider travel, and Level 4 is a stark “Do Not Travel.” But here’s the key — read the “why.” A Level 3 might cover a whole nation because of crime in one city and a dormant volcano in another, while the coastal resorts you’re eyeing are perfectly calm. The advisory is a map, not a wall. Your job is to find the safe pockets.
When learning how to read travel advisories, I always cross-reference. The U.S. advisory for a place like Peru might flag the VRAEM valley for narcotics activity, which I’d avoid like the plague, but give a clean bill of health to Cusco and Lima. The UK advisory might add a note about strikes. Neither is telling me not to go; they’re telling me where not to wander. This changes the entire risk calculus. You stop asking “Is it safe?” and start asking “Which parts are safe, right now?” That shift is the difference between an informed traveler and a headline skimmer. It also gives you a concrete, share-worthy insight: a country’s advisory is rarely a uniform red zone. The map inside the warning is your ticket to a trip that’s both adventurous and eyes-open.
Dig into the “Safety and Security” section. Look for the recency of incidents. A warning about protests that happened six months ago and haven’t recurred is different from an active, ongoing threat. Local English-language news and expat forums on the ground are your next click. They add the texture the official advisory often lacks — like whether the nightly demonstrations are confined to one square and everyone else is going about their business. This takes fifteen minutes, but it replaces vague dread with a specific, manageable list of places to skip. That’s a travel plan, not a panic attack.
Step 2: Enroll in Your Government’s Traveler Registration Program
Before you even book your final hotel, there’s a free, five-minute task that acts as a silent safety net: enroll in traveler registration. For U.S. citizens, this is the STEP program travel. The Smart Traveler Enrollment Program is the State Department’s system to log your trip details so the local embassy knows you’re in the country. Other nations have their own versions — Canada’s ROCA, Australia’s Smartraveller registration, the UK’s “Travel Aware” sign-up. I’ve used STEP on every trip to a place with even a Level 2 advisory, and it’s the single most boring, most effective thing you can do.
The process is dead simple. You punch in your itinerary, your passport number, and an emergency contact back home. That’s it. What you get in return is a direct line to the embassy’s security updates. If a protest swells unexpectedly in your neighborhood, or a natural disaster strikes, you’ll get an email or text with instructions before it hits the news. This is proactive government travel alerts that you don’t have to hunt down. It’s also a beacon for the embassy to find you if things go sideways — they have a record of your presence, which speeds up any assistance.
What STEP Actually Does (and Doesn’t Do)
Let’s clear up a common misconception right now: STEP will not airlift you out. It is not a golden ticket to a military helicopter. A lot of travelers misunderstand how STEP works and get a false sense of rescue. What it actually does is more subtle and profoundly useful. It puts you on the embassy’s radar. If a crisis unfolds, they can send you location-specific warnings — “avoid the central market area, protests are turning violent” — and they can help your family back home contact you if communication lines jam. In a medical emergency or a detention scenario, the consular officer can step in faster because they already have your file. It’s a bureaucratic superpower that costs nothing and asks for nothing but five minutes of typing. Think of it as a digital trail that makes you findable, not invincible.
Step 3: Secure Your Travel Insurance and Medical Evacuation Coverage
Here’s the part where most standard trip preparations fall apart. Your typical credit card travel insurance or a cheap aggregator policy has a fine-print grenade: an exclusion for travel to countries with active government advisories. If you’re researching how to prepare for a trip to a country with travel advisories, this is the make-or-break financial step. I once called three insurers with a Level 3 advisory on my screen, and the first two flatly said, “We won’t cover you if you go there.” The third, a specialist broker, offered a policy that explicitly covered medical expenses and evacuation, but it cost more. That extra $200 was the price of sleeping soundly.
You need to look for travel insurance for high risk countries that doesn’t have the standard advisory exclusion. Companies like World Nomads, SafetyWing, or specialized brokers like Global Rescue often craft policies that fill this gap, but you must read the certificate of insurance. Search for the phrase “advisory” or “warlike acts” in the exclusions. If it’s there, you’re bare. The non-negotiable add-on is medical evacuation coverage. A broken leg in a rural clinic with an advisory in place can turn into a $50,000 logistical puzzle without it. Evacuation memberships from firms like Medjet or Ripcord can supplement a standard policy, providing transport to a hospital of your choice, not just the nearest one. This is a genuine original take: many people think “evacuation” means the embassy comes to get you. It doesn’t. You pay for that ride, and you want the insurance to pick up the tab.
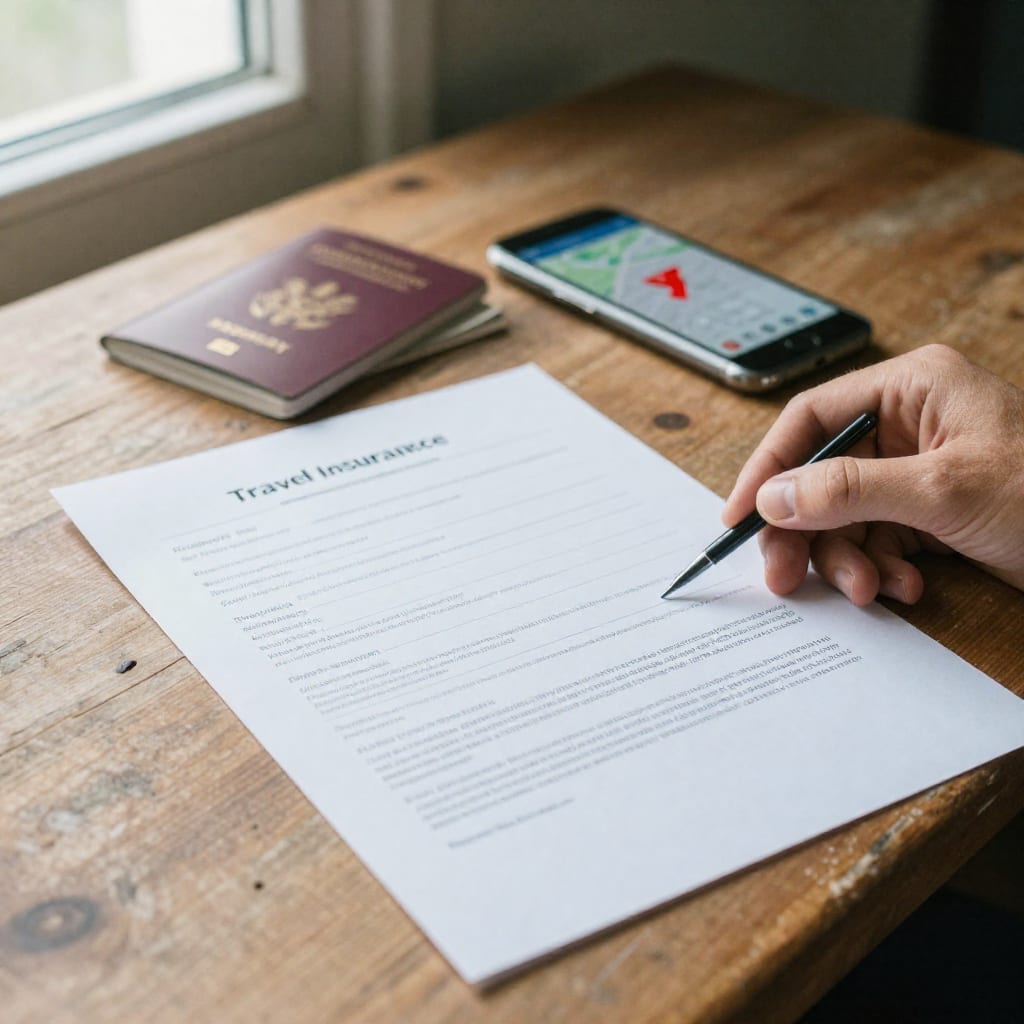
When I was planning a trip to a region with a “reconsider travel” tag, the insurer required a signed waiver acknowledging the risk. They also offered a “cancel for any reason” rider, which I took. It cost 40% more but meant that if the advisory escalated a week before departure, I could recoup 75% of my trip cost. That’s not a guarantee, but it’s a hedge. Worth bookmarking before your next trip: always ask the insurer directly, “Does this policy exclude claims arising from a Level 3 advisory in my destination country?” Get the answer in writing. That email is your proof of coverage if a claim ever gets disputed.
Step 4: Build a Practical, Not Panicked, Emergency Plan
An emergency plan for a country with an advisory doesn’t need to look like a spy thriller script. It needs to be a simple, memorized set of answers to the question, “What do I actually do right now?” The goal is to remove the paralyzing decision-making in a high-stress moment. My own travel emergency plan is a one-page note in my phone and a conversation with my partner before I leave. It covers four things: the embassy’s physical address saved offline, the local equivalent of 911, a pre-planned exit route from my accommodation, and a check-in protocol with a person back home.
First, find the exact GPS coordinates for your embassy or consulate. Don’t just assume Google Maps will work offline; the cell network can get overloaded. Pin it. Save the embassy’s emergency phone number — this is often different from the general line. Next, local emergency numbers: in many countries, dialing 911 might reroute, but it’s not universal. Look up the direct numbers for police, fire, and ambulance in your specific city. This is a concrete, actionable step that takes two minutes.
Your exit route doesn’t have to be dramatic. When I checked into a hotel in a city with sporadic unrest, I walked from my room to the hotel’s back fire exit, down the alley, and to a pre-identified pharmacy two blocks away that I’d spotted as a quiet landmark. I wasn’t expecting a siege; I was just building muscle memory. If you need to leave fast, you don’t want to be reading exit signs. Finally, pick a back-home contact who has your full itinerary, a copy of your passport, and your insurance details. Set a regular check-in window — a simple text every 48 hours. If you go silent, they know to start asking questions. This isn’t paranoia; it’s a lightweight, practical framework that lets you enjoy the trip without a low hum of what-if.
Step 5: Pack a ‘Go Bag’ and Digitize Your Documents
A “go bag” sounds theatrical, but it’s just a small, grab-and-go satchel you never unpack. In a country with an advisory, it’s your mobile survival kit. Mine is a canvas pouch that holds my passport photocopy, a spare credit card, $200 in mixed local and U.S. currency, a week’s supply of any prescription meds, a power bank with a short charging cable, and a list of emergency contacts on waterproof paper. It’s not a bug-out bag for the apocalypse; it’s a “the hotel fire alarm is going off” bag. The goal is to have the irreplaceable, hard-to-replace-in-a-hurry items in one place, always within arm’s reach.
The second half of this step is the digital safety deposit box. I digitize travel documents obsessively now after a pickpocketing incident in Medellín left me with no ID and a very long afternoon at a police station. Take clear photos of your passport’s data page, your visa, your travel insurance policy, and your driver’s license. Store these in a password-protected cloud folder (Google Drive, Dropbox) and also in an offline folder on your phone. Email a copy to yourself and to your emergency contact back home. Now, if your bag vanishes, you can pull up a digital passport copy for a consular officer or a hotel manager in minutes, not days.
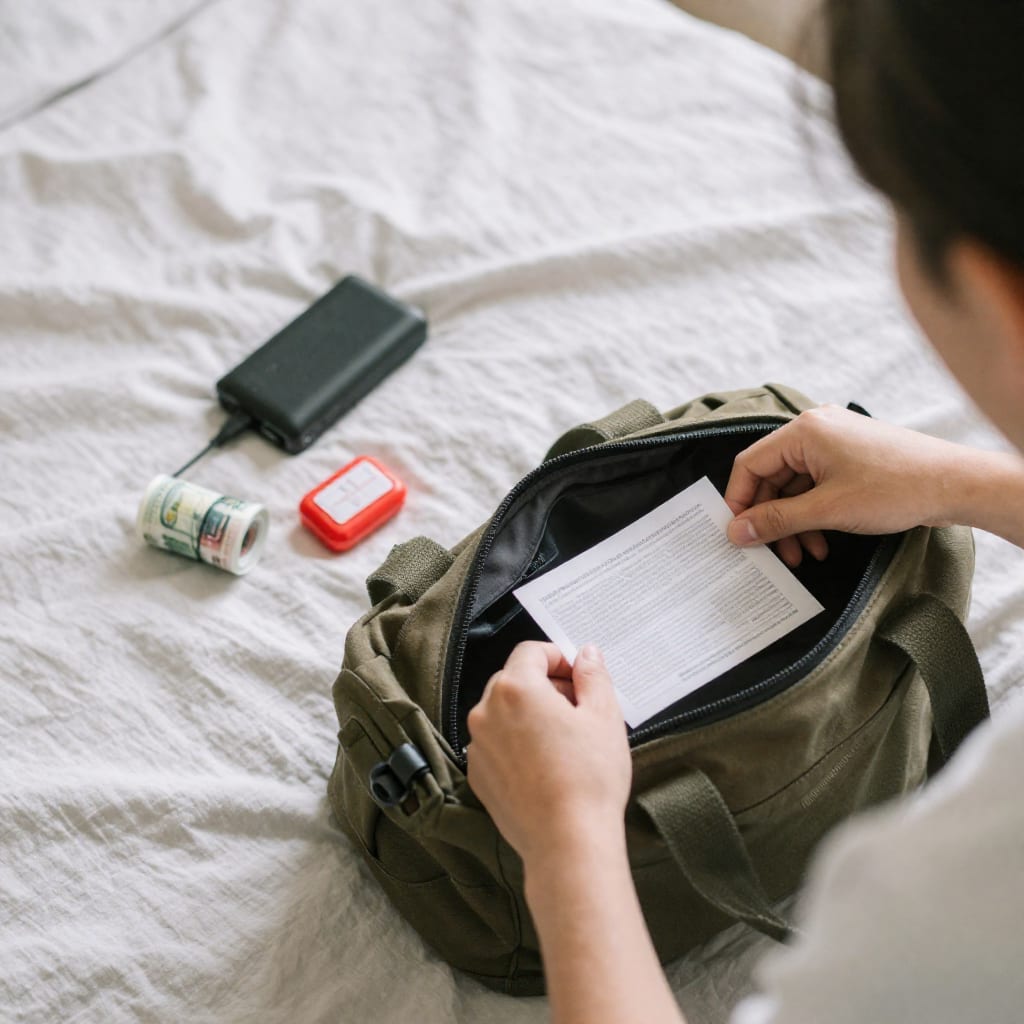
This step also ties into a broader principle: redundancy is the antidote to crisis. If the power grid is spotty, your power bank is the bridge. If the internet is throttled, your offline copies are the bridge. Packing a travel go bag and digitizing your life isn’t just for advisory-level trips — it’s a habit that makes any trip more resilient. But in a place where the embassy has a lean staff and things can change fast, it’s the difference between a recoverable hiccup and a trip-ending disaster. The surprising-but-true insight I’ve learned from this habit is that the most useful item in my go bag isn’t the cash or the meds — it’s the power bank. A dead phone in a risky environment isn’t an inconvenience; it’s a genuine safety issue. Charge it every night and keep it with you. That’s a tip worth passing on.
Prepping for a trip to a country with travel advisories isn’t about canceling your plans. It’s about building a series of small, smart buffers between you and the worst-case scenario. Read the map inside the warning, register your presence, insure your skin, plan your exits, and pack your lifelines. Do all five, and you swap anxiety for a clear-eyed readiness that lets you travel deeper and smarter.